This week, we were lucky enough to have TWO experts come to visit our class and guide us in using new materials and practicing new skills.
We had Sergey Gornushkin, the President of the San Diego Sculptors Guild, come on Tuesday to show us his portfolio of the different sculptures he has worked on throughout San Diego and beyond. We also had a chance to make our own sculptures of animal heads with clay!
An example of a model of a sculpture that Sergey plans to erect at a school campus one day. >>>CLICK HERE<<< to see the rest of his portfolio!
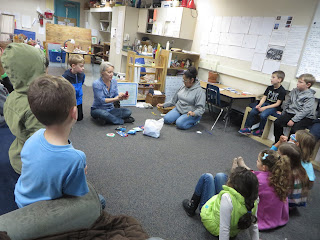
Sergey answers our burning questions about the ins and outs of being a sculptor.
Time to get messy....
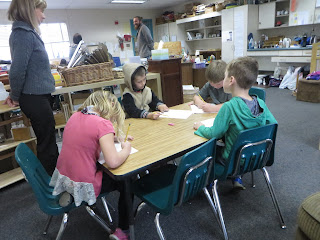
Step 1: Sketch your idea
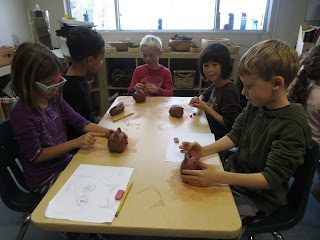
Step 2: Shape your clay and use any tools to add details
Our first tries at making clay sculptures!
A BIG thank you to Hope (Calvin's mom) for coming in and share her love for sewing with us. She showed us two stitches that we could use to make our own small pillow. One was the running stitch and the other was the overcast stitch. We also learning about pinking shears and how they are used to prevent our fabric from fraying!
Hope shared with us some samples and explains the different stitch patterns. You can even sew things that are not fabric, such as paper and foam!
Time to pick our fabric!
Deciding on which stitch to use...
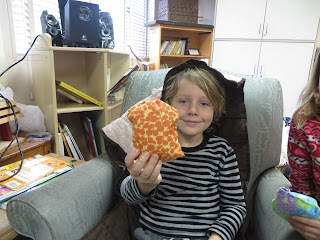
Some friends stuffed their pillow with polyester stuffing, others chose to fill it with dried lavender and rosemary. Some friends made their pillow into a Tooth Fairy Pillow by adding a tooth shaped pocket to the front! Here are pictures of the friends that finished their pillows. I can't wait to see how the rest of the friends' ideas turn out!


No comments:
Post a Comment